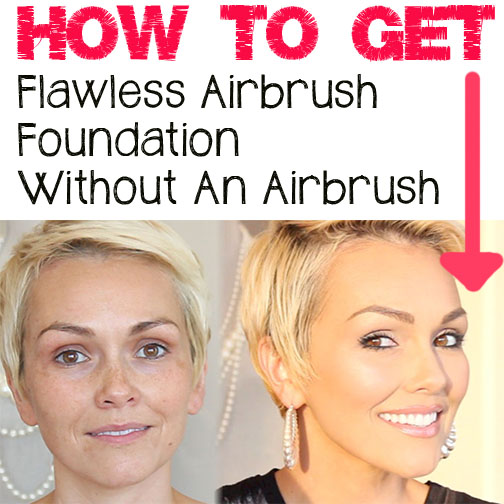
Achieving the Airbrush Makeup Look Without an Airbrush: A Comprehensive Guide
Related Articles: Achieving the Airbrush Makeup Look Without an Airbrush: A Comprehensive Guide
Introduction
In this auspicious occasion, we are delighted to delve into the intriguing topic related to Achieving the Airbrush Makeup Look Without an Airbrush: A Comprehensive Guide. Let’s weave interesting information and offer fresh perspectives to the readers.
Table of Content
Achieving the Airbrush Makeup Look Without an Airbrush: A Comprehensive Guide
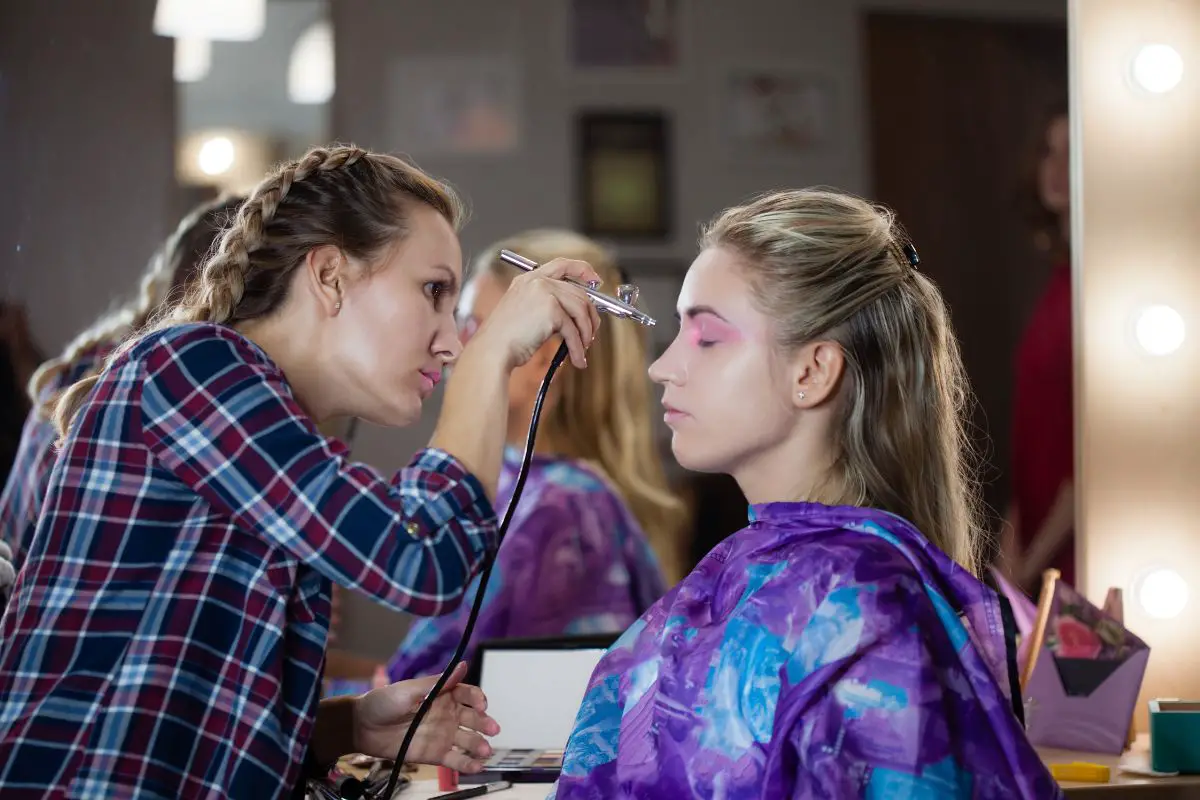
The airbrush makeup look, with its flawless, airbrushed finish, has become a coveted aesthetic in the beauty industry. However, the specialized equipment and expertise required for airbrushing can be a deterrent for many. Fortunately, achieving a similar effect with traditional makeup techniques is achievable with the right knowledge and tools. This guide explores the intricacies of replicating the airbrush makeup look without an airbrush, providing a comprehensive understanding of the techniques, products, and practices involved.
Understanding the Airbrush Makeup Look:
The airbrush makeup look is characterized by its:
- Flawless Finish: A smooth, even complexion free from visible pores, blemishes, or lines.
- Lightweight Coverage: A thin, natural-looking application that allows the skin to breathe.
- Long-Lasting Wear: The makeup remains intact for extended periods, resisting smudging and fading.
- Natural, Radiant Glow: A subtle sheen that adds dimension and luminosity to the skin.
Replicating the Airbrush Makeup Look Without an Airbrush:
The key to achieving this look lies in meticulous preparation, the right product choices, and precise application techniques.
1. Skin Preparation:
- Cleansing and Exfoliating: Start with a gentle cleanser to remove impurities and makeup residue. Follow with a gentle exfoliating scrub to remove dead skin cells, creating a smooth canvas for makeup application.
- Hydration: Apply a lightweight moisturizer to hydrate the skin and prevent dryness. Choose a moisturizer that suits your skin type, avoiding products that are overly oily or greasy.
- Primer: A primer is crucial for creating a smooth, even surface for makeup application. It helps to minimize the appearance of pores, fine lines, and wrinkles, while also extending the wear of foundation. Opt for a primer that matches your skin type and desired finish (matte, dewy, etc.).
- Color Correction: Address any discoloration or blemishes with color-correcting products. Green neutralizes redness, yellow corrects purple tones, and peach or orange brightens dark circles.
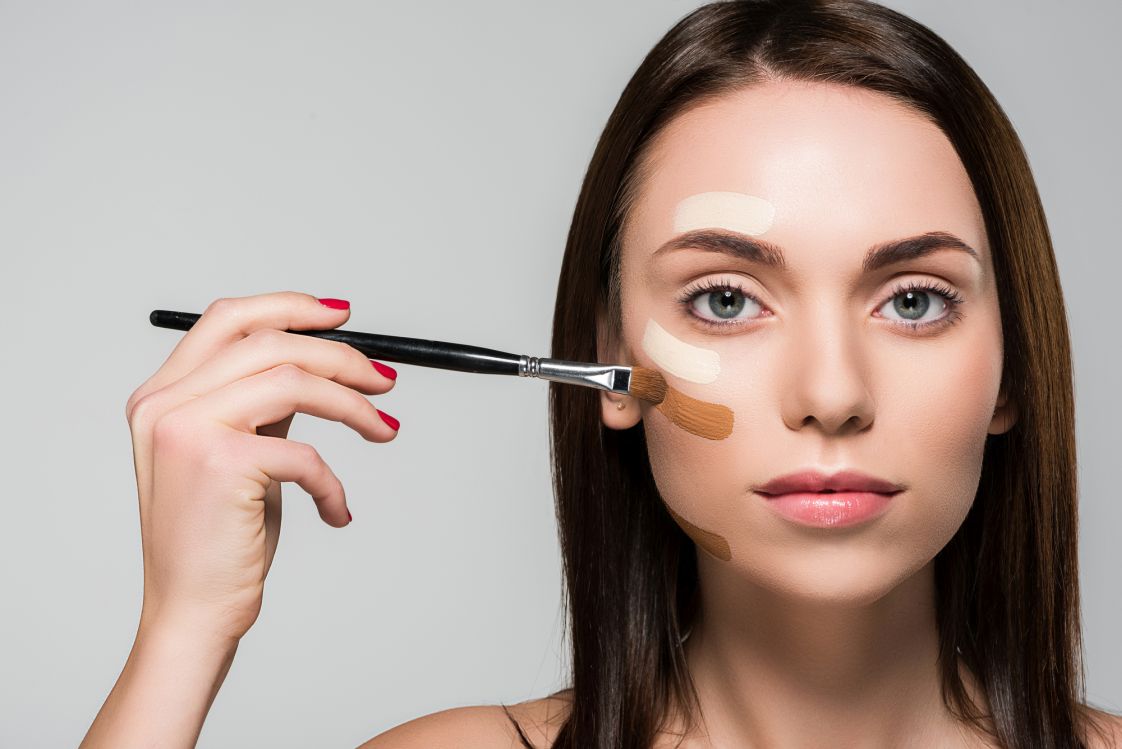
- Contouring and Highlighting: Use cream contour and highlight products to sculpt and define the face. This step adds depth and dimension, enhancing the airbrushed effect.
2. Foundation Application:
- Product Choice: Opt for a liquid foundation with a lightweight, buildable formula. Seek out foundations with a satin or dewy finish, as these tend to replicate the airbrush effect better than matte formulas.
- Application Tools: For a flawless finish, consider using a foundation brush with densely packed, synthetic bristles. Alternatively, a damp beauty blender can create a seamless, airbrushed effect.
- Application Technique: Apply foundation in thin layers, starting from the center of the face and blending outwards. Focus on blending the foundation seamlessly at the jawline and hairline.
- Setting Powder: Use a translucent setting powder to set the foundation and prevent it from creasing or sliding throughout the day. Apply with a large, fluffy brush, focusing on areas prone to oiliness.
3. Eye Makeup:
- Eyeshadow Application: Use a light hand with eyeshadow, focusing on blending and creating a soft, diffused effect. Avoid harsh lines or heavy pigmentation.
- Eyeliner: Opt for a liquid or gel eyeliner for a precise, sharp line. Use a thin, angled brush to apply the liner, focusing on creating a natural-looking lash line.
- Mascara: Apply mascara to the lashes in light, sweeping strokes. Avoid clumpy or excessive application, aiming for a natural, defined look.
4. Blush and Bronzer:
- Blush Application: Apply blush to the apples of the cheeks, blending upwards towards the temples. Choose a blush shade that complements your skin tone and desired level of warmth.
- Bronzer Application: Use bronzer to contour the face, focusing on the cheekbones, forehead, and jawline. Apply in light, sweeping strokes, blending seamlessly into the foundation.
5. Final Touches:
- Highlighting: Apply a highlighter to the high points of the face, such as the cheekbones, brow bones, and cupid’s bow. This adds a subtle glow and enhances the airbrushed effect.
- Setting Spray: Finish with a setting spray to lock in the makeup and ensure it lasts throughout the day. Choose a setting spray that matches your skin type and desired finish (matte, dewy, etc.).
Key Products for Achieving the Airbrush Makeup Look Without an Airbrush:
- Lightweight, Buildable Foundation: Seek formulas that provide coverage without feeling heavy or cakey.
- High-Quality Foundation Brush or Beauty Blender: These tools are essential for achieving a flawless, even application.
- Primer: A primer helps to create a smooth, even canvas for makeup application, minimizing the appearance of imperfections.
- Setting Powder: A translucent setting powder helps to set the foundation and prevent it from creasing or sliding.
- Cream Contour and Highlight Products: These products help to sculpt and define the face, adding depth and dimension.
- Liquid or Gel Eyeliner: These formulas provide a precise, sharp line for a natural-looking lash line.
- Lightweight Blush and Bronzer: These products add color and warmth to the face without looking heavy or unnatural.
- Setting Spray: A setting spray helps to lock in the makeup and ensure it lasts throughout the day.
FAQs about Achieving the Airbrush Makeup Look Without an Airbrush:
Q: Can I achieve the airbrush makeup look without an airbrush using only drugstore products?
A: Yes, it is possible to achieve a comparable look using drugstore products. Focus on choosing high-quality foundations, primers, and setting powders with lightweight, buildable formulas.
Q: What are the benefits of achieving the airbrush makeup look without an airbrush?
A: The benefits include a flawless, natural-looking finish, long-lasting wear, and the ability to customize the look to your individual preferences.
Q: What are the key differences between airbrush makeup and traditional makeup application?
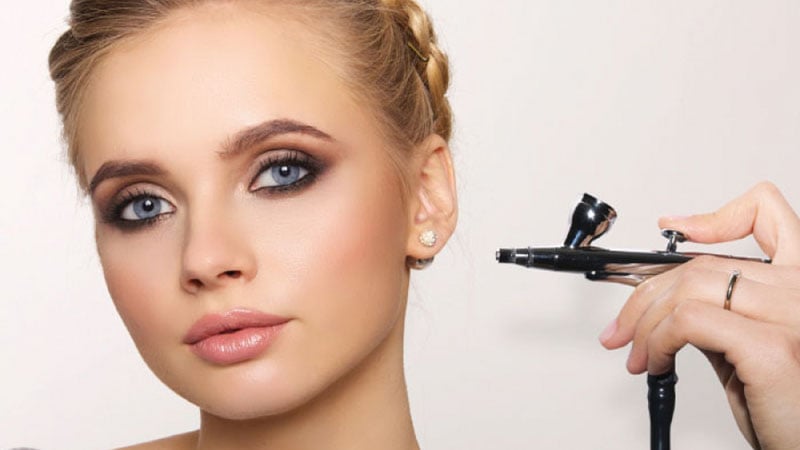
A: Airbrush makeup utilizes a fine mist of makeup that is sprayed onto the skin, creating a seamless, even application. Traditional makeup application involves using brushes, sponges, or fingertips to apply makeup, which can result in a more textured finish if not applied carefully.
Q: Is there a specific order for applying products when replicating the airbrush makeup look without an airbrush?
A: The order of application can vary depending on the specific products used. However, a general guideline is to start with skincare, followed by primer, color correction, foundation, contouring and highlighting, eye makeup, blush and bronzer, and finally, setting powder and setting spray.
Tips for Achieving the Airbrush Makeup Look Without an Airbrush:
- Practice makes perfect: Mastering the techniques requires practice and experimentation. Don’t be afraid to try different products and techniques to find what works best for you.
- Invest in high-quality tools: Using the right tools, such as a good foundation brush or beauty blender, can significantly enhance the application process.
- Blend, blend, blend: The key to achieving a seamless, airbrushed finish is to blend the makeup thoroughly, ensuring there are no harsh lines or visible edges.
- Less is more: Start with a light application of foundation and build up coverage as needed. Avoid applying too much product, as this can lead to a cakey finish.
- Pay attention to detail: Take your time and focus on blending the makeup seamlessly at the jawline, hairline, and around the eyes.
- Use a setting spray: Setting spray is crucial for locking in the makeup and ensuring it lasts throughout the day.
Conclusion:
Achieving the airbrush makeup look without an airbrush is attainable with meticulous preparation, the right product choices, and precise application techniques. By focusing on skin preparation, foundation application, eye makeup, blush and bronzer, and final touches, it is possible to create a flawless, natural-looking finish that rivals the results of airbrush makeup. Remember, practice and experimentation are key to mastering this technique and finding what works best for your individual needs and preferences. With the right knowledge and tools, you can confidently embrace the airbrushed look, whether you are preparing for a special occasion or simply seeking a flawless everyday makeup routine.


Closure
Thus, we hope this article has provided valuable insights into Achieving the Airbrush Makeup Look Without an Airbrush: A Comprehensive Guide. We hope you find this article informative and beneficial. See you in our next article!