Mastering Makeup for Oily Skin: A Step-by-Step Guide
Related Articles: Mastering Makeup for Oily Skin: A Step-by-Step Guide
Introduction
In this auspicious occasion, we are delighted to delve into the intriguing topic related to Mastering Makeup for Oily Skin: A Step-by-Step Guide. Let’s weave interesting information and offer fresh perspectives to the readers.
Table of Content
- 1 Related Articles: Mastering Makeup for Oily Skin: A Step-by-Step Guide
- 2 Introduction
- 3 Mastering Makeup for Oily Skin: A Step-by-Step Guide
- 3.1 Step 1: Cleansing and Exfoliation
- 3.2 Step 2: Toning and Hydration
- 3.3 Step 3: Primer: The Key to Long-Lasting Makeup
- 3.4 Step 4: Foundation: The Foundation of Flawless Coverage
- 3.5 Step 5: Concealer: Targeting Imperfections
- 3.6 Step 6: Eyeshadow: Adding Depth and Dimension
- 3.7 Step 7: Eyeliner: Defining the Eyes
- 3.8 Step 8: Mascara: Enhancing the Lashes
- 3.9 Step 9: Setting Spray: Locking in the Look
- 3.10 FAQs on Makeup for Oily Skin
- 3.11 Tips for Makeup for Oily Skin
- 3.12 Conclusion
- 4 Closure
Mastering Makeup for Oily Skin: A Step-by-Step Guide
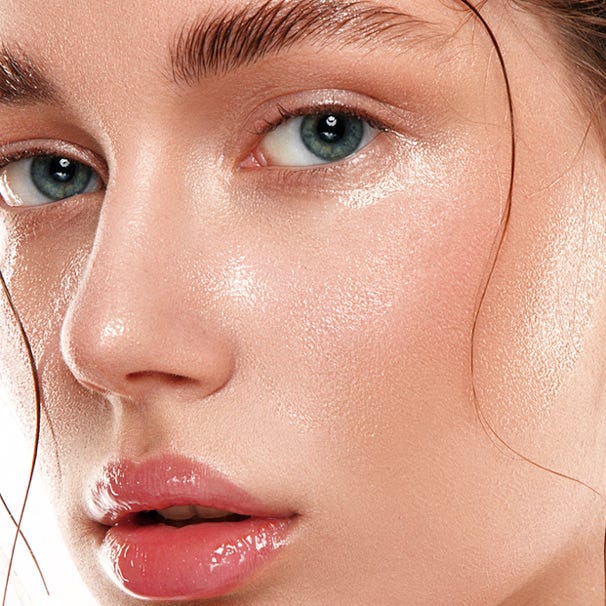
Oily skin, characterized by excessive sebum production, presents unique challenges for makeup application. Achieving a flawless, long-lasting finish requires a strategic approach, focusing on products designed to control shine, prevent clogging, and enhance the overall look. This comprehensive guide outlines a step-by-step process for achieving optimal makeup results for oily skin, addressing common concerns and offering expert tips for achieving a beautiful, confident look.
Step 1: Cleansing and Exfoliation
The foundation of any successful makeup routine lies in proper skin preparation. For oily skin, this involves cleansing and exfoliating to remove excess oil, dirt, and impurities.
Cleansing:
- Choose a gentle, oil-free cleanser. Look for ingredients like salicylic acid or tea tree oil, known for their sebum-regulating properties. Avoid cleansers containing harsh sulfates or alcohol, which can strip the skin of its natural oils and lead to increased sebum production.
- Cleanse twice daily, morning and evening. This removes accumulated oil, sweat, and environmental pollutants.
- Use lukewarm water for cleansing. Avoid hot water, which can further stimulate oil production.
Exfoliation:
- Exfoliate 2-3 times per week. This removes dead skin cells, preventing clogged pores and promoting a smoother, more even complexion.
- Choose a gentle exfoliating scrub or chemical exfoliant. Physical scrubs, while effective, can be abrasive, potentially irritating sensitive skin. Chemical exfoliants, such as glycolic acid or lactic acid, work by dissolving the bonds between dead skin cells, providing a more gentle approach.
Benefits of Cleansing and Exfoliation:
- Reduces shine: Removing excess oil and dead skin cells minimizes the appearance of oiliness and provides a smoother canvas for makeup application.
- Prevents breakouts: Regular cleansing and exfoliation help unclog pores, reducing the risk of acne and blemishes.
- Enhances makeup longevity: A clean, exfoliated skin surface allows makeup to adhere better, resulting in a longer-lasting, flawless finish.
Step 2: Toning and Hydration
Toning and hydrating oily skin may seem counterintuitive, but it is crucial for achieving balance and preventing overproduction of oil.
Toning:
- Opt for an alcohol-free toner. Alcohol can dry out the skin, leading to increased oil production as a compensatory mechanism.
- Choose a toner with astringent properties. Ingredients like witch hazel or rosewater can help tighten pores and control shine.
- Apply toner after cleansing with a cotton pad. Gently swipe across the face, avoiding the delicate eye area.
Hydration:
- Select a lightweight, oil-free moisturizer. Look for ingredients like hyaluronic acid, known for its exceptional hydrating properties.
- Apply moisturizer after toning. This seals in hydration and prevents the skin from becoming dehydrated, a common trigger for oil overproduction.
- Consider a serum with anti-inflammatory properties. Ingredients like green tea extract or niacinamide can soothe irritation and reduce redness.
Benefits of Toning and Hydration:
- Balances oil production: Maintaining proper hydration levels prevents the skin from becoming overly dry, which can trigger an overproduction of oil.
- Prevents dehydration: Even oily skin needs hydration, and using a lightweight, oil-free moisturizer helps maintain the skin’s moisture balance.
- Creates a smooth base for makeup: A well-hydrated skin surface allows makeup to glide on smoothly, preventing uneven application and emphasizing dry patches.
Step 3: Primer: The Key to Long-Lasting Makeup
Primer is a crucial step in achieving long-lasting, flawless makeup for oily skin. It creates a smooth, even surface that helps makeup adhere better, preventing it from sliding or settling into fine lines.
Types of Primers for Oily Skin:
- Matte Primers: These are designed to absorb excess oil and create a matte finish, minimizing shine throughout the day.
- Silicone-Based Primers: These create a barrier between the skin and makeup, preventing it from sinking into pores and creating a smooth, blurring effect.
- Color-Correcting Primers: These help neutralize redness or discoloration, providing a more even canvas for foundation application.
How to Apply Primer:
- Apply a small amount of primer to the entire face. Use your fingertips or a makeup sponge to blend it evenly.
- Focus on areas prone to oiliness, such as the T-zone (forehead, nose, and chin).
- Allow the primer to set for a few minutes before applying foundation.
Benefits of Primer:
- Controls shine: Matte and silicone-based primers absorb excess oil, minimizing shine throughout the day.
- Improves makeup longevity: Primer creates a smooth surface that helps makeup adhere better, preventing it from sliding or fading.
- Minimizes the appearance of pores: Silicone-based primers blur imperfections and create a smoother, more flawless complexion.
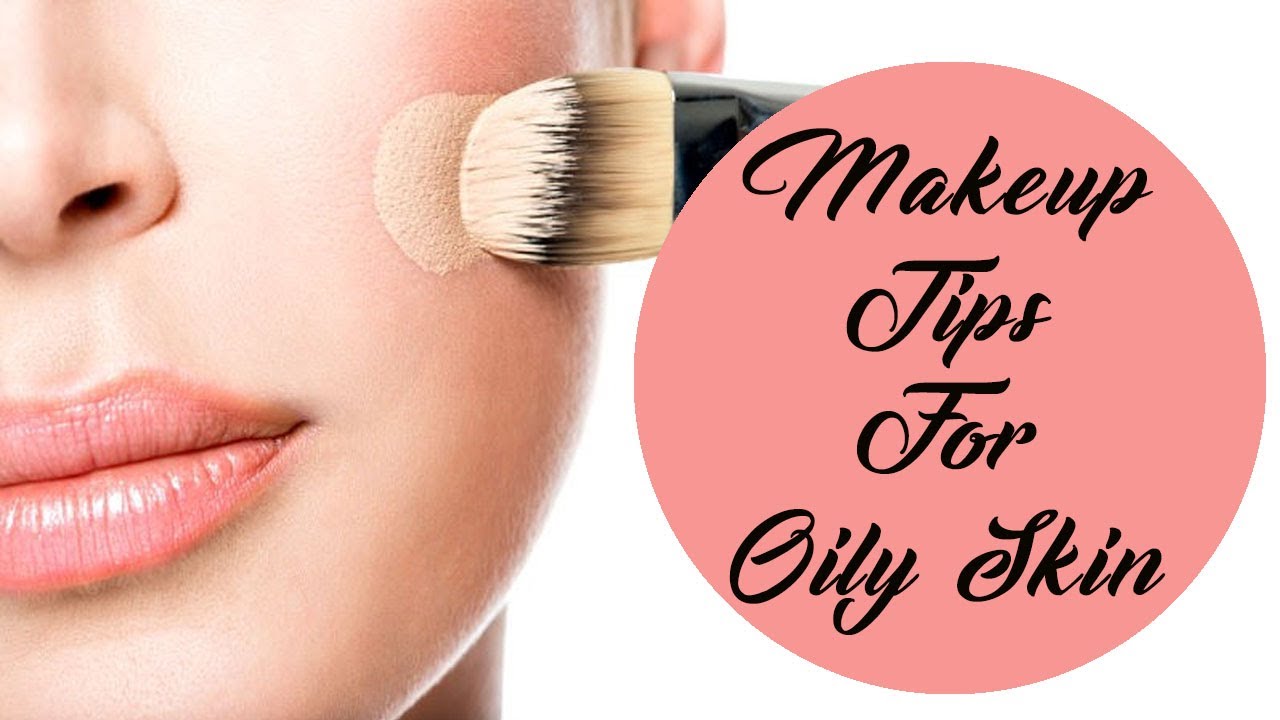
Step 4: Foundation: The Foundation of Flawless Coverage
Choosing the right foundation is paramount for oily skin. It should provide buildable coverage, control shine, and remain in place throughout the day.
Types of Foundations for Oily Skin:
- Matte Foundations: These are formulated to absorb excess oil and create a shine-free finish.
- Oil-Free Foundations: These are specifically designed for oily skin and are free of ingredients that can clog pores or exacerbate oil production.
- Water-Based Foundations: These offer a lighter, breathable finish that is less likely to clog pores or accentuate oiliness.
How to Apply Foundation:
- Use a foundation brush or makeup sponge for application. A brush provides more precise coverage, while a sponge helps blend the foundation seamlessly.
- Start with a small amount of foundation and build coverage as needed.
- Apply the foundation in thin, even layers. Avoid rubbing or dragging the foundation, which can disrupt the skin’s natural oils.
- Set the foundation with a translucent powder. This will help control shine and prevent the foundation from sliding or fading throughout the day.
Benefits of Foundation:
- Provides coverage: Foundation helps even out skin tone, conceal blemishes, and create a flawless base for makeup.
- Controls shine: Matte and oil-free foundations absorb excess oil, minimizing shine and keeping the skin looking fresh.
- Enhances makeup longevity: The right foundation adheres well to the skin, preventing it from sliding or fading throughout the day.
Step 5: Concealer: Targeting Imperfections
Concealer is essential for targeting specific imperfections, such as blemishes, dark circles, or redness. For oily skin, it is crucial to choose a long-lasting, oil-free formula that won’t crease or settle into fine lines.
Types of Concealers for Oily Skin:
- Matte Concealers: These offer a shine-free finish and are ideal for concealing blemishes or redness.
- Cream-to-Powder Concealers: These have a creamy texture that blends easily but set to a matte finish, providing long-lasting coverage.
- Waterproof Concealers: These are particularly helpful for areas prone to sweating or oiliness, as they are designed to resist smudging and fading.
How to Apply Concealer:
- Use a small, pointed brush or a concealer brush to apply concealer directly to the area you wish to cover.
- Blend the concealer gently with your fingertips or a makeup sponge.
- Set the concealer with a translucent powder. This will help prevent it from creasing or fading throughout the day.
Benefits of Concealer:
- Conceals imperfections: Concealer helps to cover blemishes, dark circles, and redness, creating a more even and flawless complexion.
- Provides targeted coverage: Concealer allows you to address specific concerns without applying full-coverage foundation to the entire face.
- Enhances makeup longevity: Choosing a long-lasting, oil-free formula ensures that concealer stays in place throughout the day, preventing it from creasing or fading.
Step 6: Eyeshadow: Adding Depth and Dimension
Eyeshadow can add depth and dimension to the eyes, enhancing the overall makeup look. For oily eyelids, it is crucial to choose long-lasting, crease-resistant formulas that won’t fade or smudge.
Types of Eyeshadows for Oily Eyelids:
- Cream Eyeshadows: These offer a smooth, blendable texture that is less likely to crease or fade.
- Powder Eyeshadows: These are available in a wide range of colors and finishes, offering a long-lasting, crease-resistant option.
- Eyeshadow Primers: These create a smooth, even base for eyeshadow application, helping it adhere better and prevent creasing.
How to Apply Eyeshadow:
- Apply eyeshadow primer to the eyelids before applying eyeshadow. This creates a smooth, even base that helps the eyeshadow adhere better and prevents it from creasing.
- Use a blending brush to apply eyeshadow to the eyelids. Start with lighter shades in the inner corners and crease, blending outwards with darker shades for added depth.
- Set the eyeshadow with a translucent powder. This will help prevent it from fading or smudging throughout the day.
Benefits of Eyeshadow:
- Enhances eye definition: Eyeshadow can add depth and dimension to the eyes, making them appear larger and more defined.
- Creates a variety of looks: Eyeshadow is available in a wide range of colors and finishes, allowing you to create endless looks, from natural to dramatic.
- Enhances makeup longevity: Choosing long-lasting, crease-resistant formulas ensures that eyeshadow stays in place throughout the day, preventing it from fading or smudging.
Step 7: Eyeliner: Defining the Eyes
Eyeliner can define the eyes, enhancing their shape and adding a touch of drama. For oily eyelids, it is important to choose a formula that is smudge-proof and long-lasting.
Types of Eyeliners for Oily Eyelids:
- Gel Eyeliners: These offer a rich, creamy texture that provides intense color and long-lasting wear.
- Liquid Eyeliners: These are ideal for creating precise lines and wings, offering a smudge-proof and waterproof finish.
- Pencil Eyeliners: These are easy to apply and blend, offering a soft, natural look.
How to Apply Eyeliner:
- Use a thin, angled brush to apply liquid or gel eyeliner. Start with a thin line at the lash line and gradually thicken it as desired.
- Use a pencil eyeliner to line the waterline or create a soft, smudged look.
- Set the eyeliner with a translucent powder. This will help prevent it from smudging or fading throughout the day.
Benefits of Eyeliner:
- Defines the eyes: Eyeliner can enhance the shape of the eyes, making them appear larger and more defined.
- Adds a touch of drama: Eyeliner can create a variety of looks, from subtle to dramatic, depending on the color and application technique.
- Enhances makeup longevity: Choosing a smudge-proof and long-lasting formula ensures that eyeliner stays in place throughout the day, preventing it from fading or smudging.
Step 8: Mascara: Enhancing the Lashes
Mascara can enhance the lashes, making them appear longer, fuller, and more defined. For oily eyelids, it is important to choose a formula that is smudge-proof and waterproof, preventing it from running or smudging throughout the day.
Types of Mascaras for Oily Eyelids:
- Waterproof Mascaras: These are designed to resist smudging and running, even in humid or hot conditions.
- Long-Wear Mascaras: These offer a long-lasting, smudge-proof finish that stays in place throughout the day.
- Volumizing Mascaras: These are designed to add volume and thickness to the lashes, creating a dramatic look.
How to Apply Mascara:
- Wiggle the mascara wand from the base of the lashes to the tips. This helps to coat each lash evenly and create a full, voluminous look.
- Apply two or three coats for added volume and definition.
- Use a lash comb to separate the lashes and remove any clumps.
Benefits of Mascara:
- Enhances lash length and volume: Mascara can make the lashes appear longer, fuller, and more defined.
- Opens up the eyes: Mascara can make the eyes appear brighter and more awake.
- Enhances makeup longevity: Choosing a smudge-proof and waterproof formula ensures that mascara stays in place throughout the day, preventing it from fading or smudging.
Step 9: Setting Spray: Locking in the Look
Setting spray is the final step in creating long-lasting, flawless makeup. It helps to set the makeup in place, preventing it from fading, smudging, or sliding throughout the day.
Types of Setting Sprays for Oily Skin:
- Matte Setting Sprays: These are designed to absorb excess oil and create a shine-free finish.
- Long-Wear Setting Sprays: These are formulated to help makeup last longer, preventing it from fading or smudging.
- Waterproof Setting Sprays: These are ideal for humid or hot conditions, as they are designed to resist sweat and moisture.
How to Apply Setting Spray:
- Hold the bottle about 8-10 inches away from the face.
- Close your eyes and spray the setting spray in a fine mist over the entire face.
- Allow the setting spray to dry completely before touching your face.
Benefits of Setting Spray:
- Locks in makeup: Setting spray helps to set the makeup in place, preventing it from fading, smudging, or sliding throughout the day.
- Controls shine: Matte setting sprays absorb excess oil, minimizing shine and keeping the skin looking fresh.
- Enhances makeup longevity: Setting spray helps to extend the wear time of makeup, ensuring that it stays in place throughout the day.
FAQs on Makeup for Oily Skin
Q: What are some common mistakes to avoid when applying makeup to oily skin?
A: Common mistakes include:
- Using heavy, oil-based products: These can clog pores and exacerbate oil production.
- Skipping primer: Primer is essential for creating a smooth, even surface that helps makeup adhere better and prevent it from sliding or settling into fine lines.
- Over-applying foundation: This can create a cakey, unnatural look and emphasize oiliness.
- Forgetting to set makeup with powder: Powder helps control shine and prevent makeup from fading or smudging.
- Not using setting spray: Setting spray helps to lock in makeup, preventing it from fading or sliding throughout the day.
Q: How often should I wash my makeup brushes?
A: Makeup brushes should be washed at least once a week, or more frequently if you use them daily. This helps to remove dirt, oil, and bacteria that can build up on the brushes and transfer to the skin.
Q: What are some natural remedies for oily skin?
A: Some natural remedies for oily skin include:
- Using a clay mask: Clay masks can help absorb excess oil and tighten pores.
- Applying apple cider vinegar toner: Apple cider vinegar can help balance the skin’s pH and reduce oil production.
- Using tea tree oil: Tea tree oil has antibacterial and anti-inflammatory properties that can help to reduce breakouts and control oil production.
Q: What should I do if my makeup keeps sliding off my oily skin?
A: If your makeup keeps sliding off, consider the following:
- Ensure you are using oil-free products: This is crucial for oily skin, as oil-based products can cause makeup to slip and slide.
- Use a primer designed for oily skin: Primer creates a smooth, even surface that helps makeup adhere better.
- Set your makeup with a translucent powder: Powder helps to absorb excess oil and prevent makeup from fading or smudging.
- Consider using a setting spray: Setting spray helps to lock in makeup, preventing it from fading or sliding throughout the day.
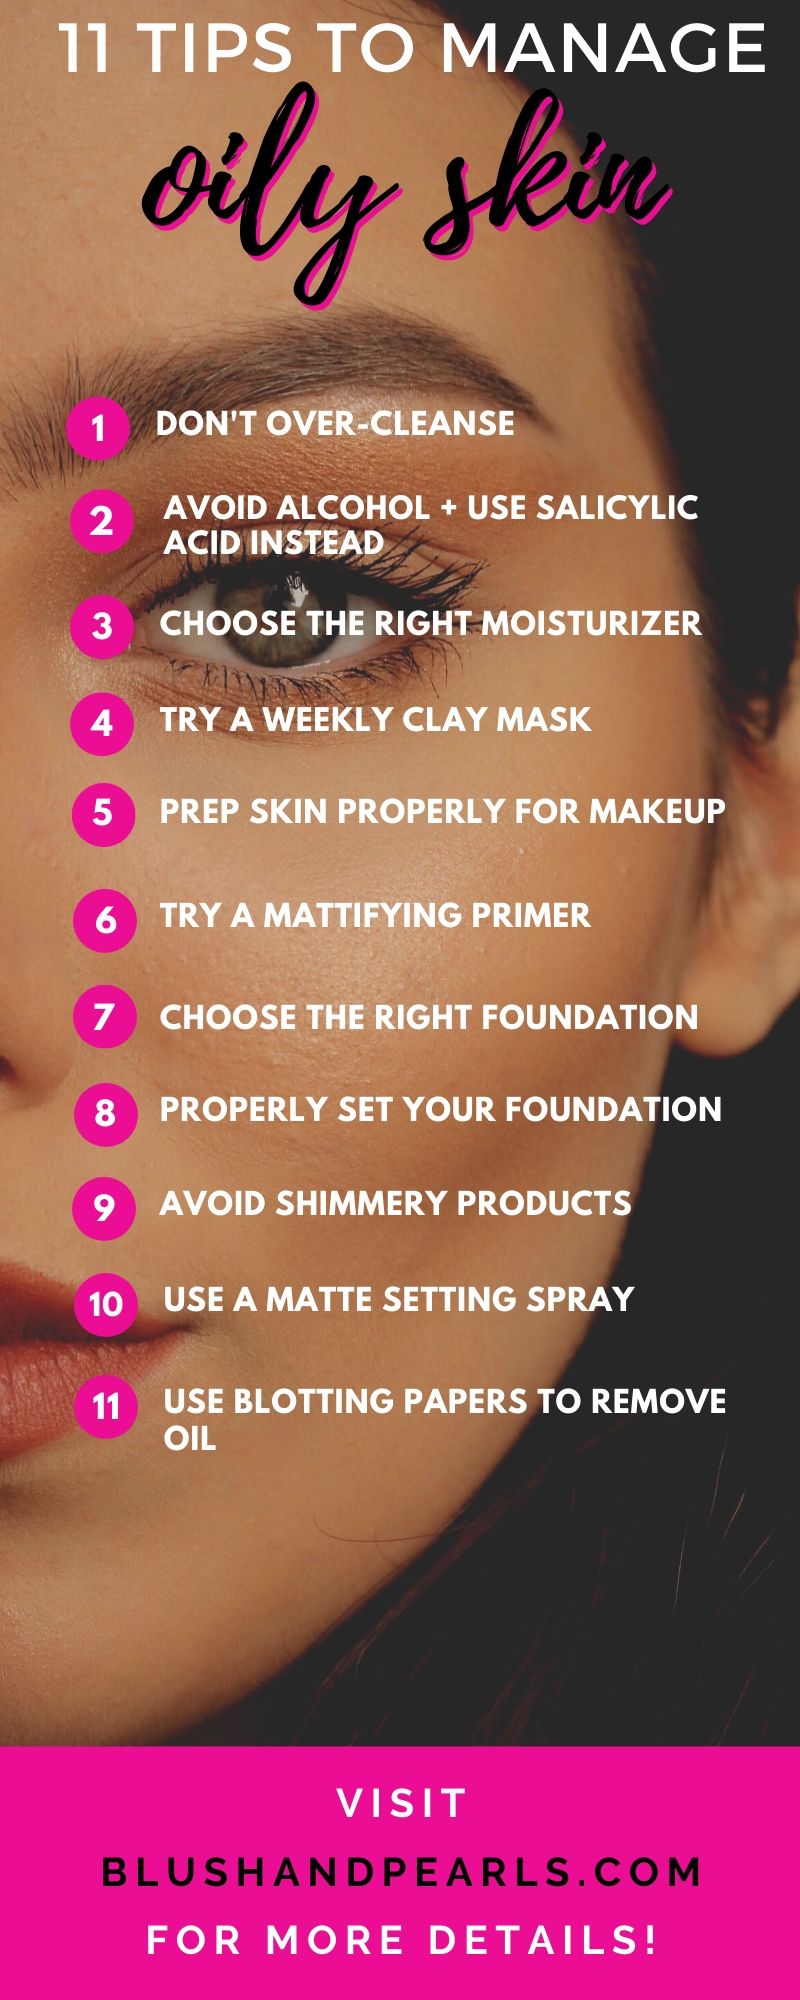
Tips for Makeup for Oily Skin
- Choose products specifically designed for oily skin. Look for labels like "oil-free," "matte," or "long-wear."
- Use blotting papers to control shine throughout the day.
- Avoid touching your face throughout the day. This can transfer oil and dirt to the skin, disrupting makeup and potentially causing breakouts.
- Wash your makeup brushes regularly to prevent bacteria buildup.
- Drink plenty of water to keep your skin hydrated from the inside out.
- Follow a consistent skincare routine that includes cleansing, exfoliating, toning, and hydrating.
- Consider using a serum with anti-inflammatory properties to reduce redness and irritation.
Conclusion
Mastering makeup for oily skin involves a combination of product selection, application techniques, and skincare practices. By following the steps outlined in this guide, you can achieve a flawless, long-lasting finish that controls shine, prevents clogging, and enhances the overall look. Remember, patience and practice are key to finding the perfect makeup routine for your unique skin type. With the right tools and techniques, you can confidently embrace your oily skin and achieve a beautiful, radiant complexion.


Closure
Thus, we hope this article has provided valuable insights into Mastering Makeup for Oily Skin: A Step-by-Step Guide. We thank you for taking the time to read this article. See you in our next article!